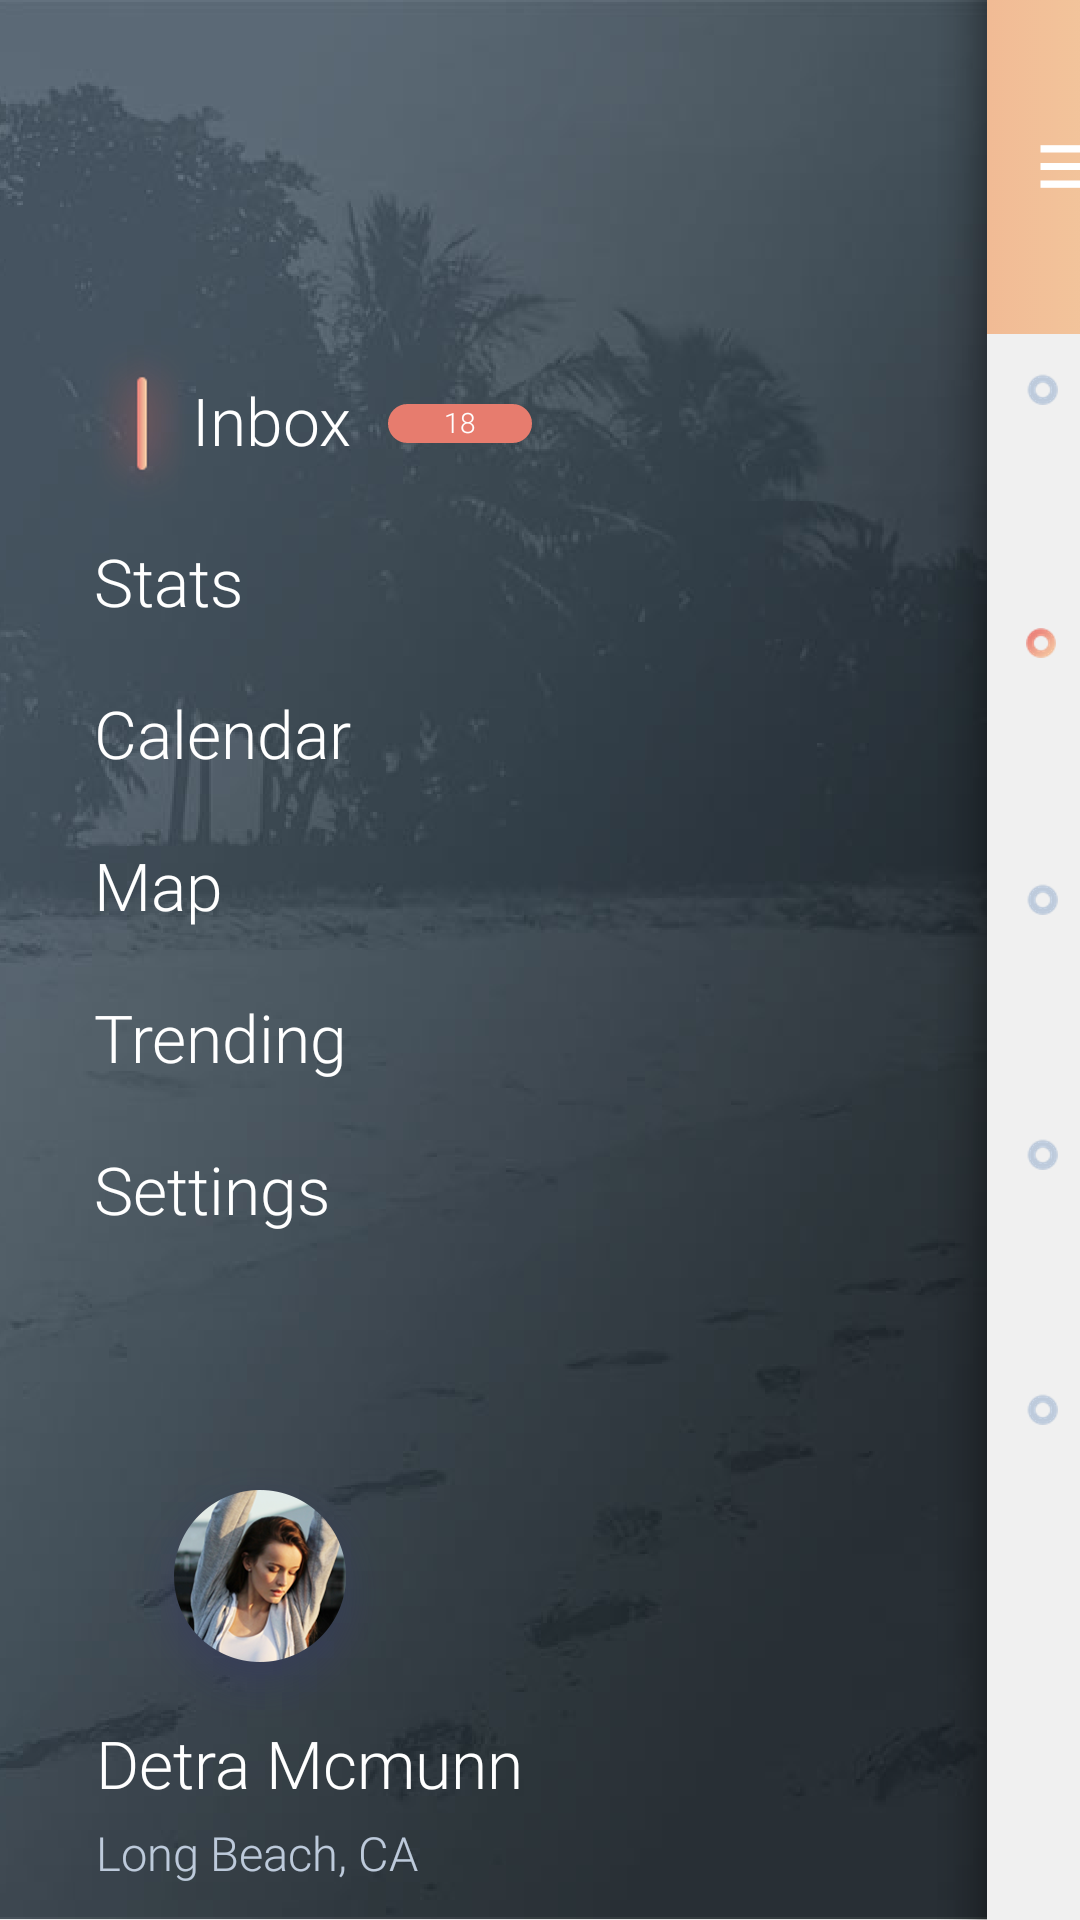
The Phoenix UI kit by
Adrian Chiran is one of the best looking and most challenging
template UI’s I had to adapt in recent history. The breadth
of the design is pretty challenging but it also has some elements that are really hard to adapt across platforms in
a portable way.
In fact, some elements only work on devices and don’t even work properly for the JavaScript port e.g. the floating
action button gradient color and the round look of the walkthru UI.
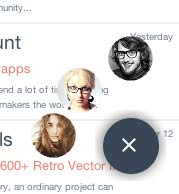
I’m pretty happy with the result though, notice that the JavaScript version you see on the right isn’t quite perfect
so scroll down to the device screenshots below to see how it looks on my Android OPO device.
Due to time constraints I didn’t port all th forms, I also converted one of the “forms” to a side menu which wasn’t
very clear from the design but worked well in production.
Unlike previous demos I chose to use the GUI builder for most of this demo, as an experienced developer using
GUI builders slows me down considerably and this made this demo harder to build. I also ran into quite a few
issues in the current GUI builder which we will fix to improve the results for everyone. I’m not sure if the next
template will be GUI builder based but I’m confident we will make further use of the GUI builder for demos &
templates moving forward.
The nice thing about this GUI builder is that it generates code so even if you prefer handcoded development
you can still look at the code without launching the GUI builder.
You can check out the demo page here which includes all the information including
the github page.
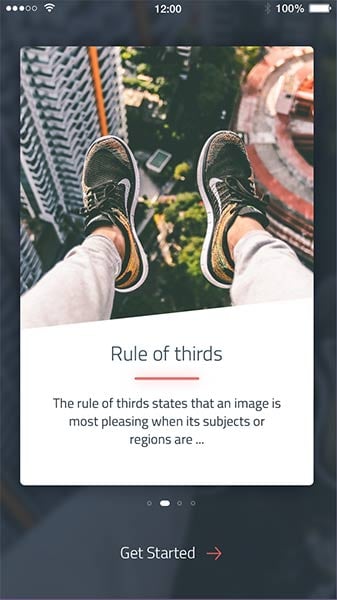
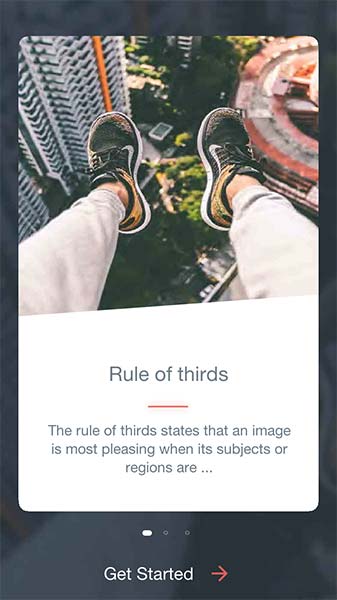
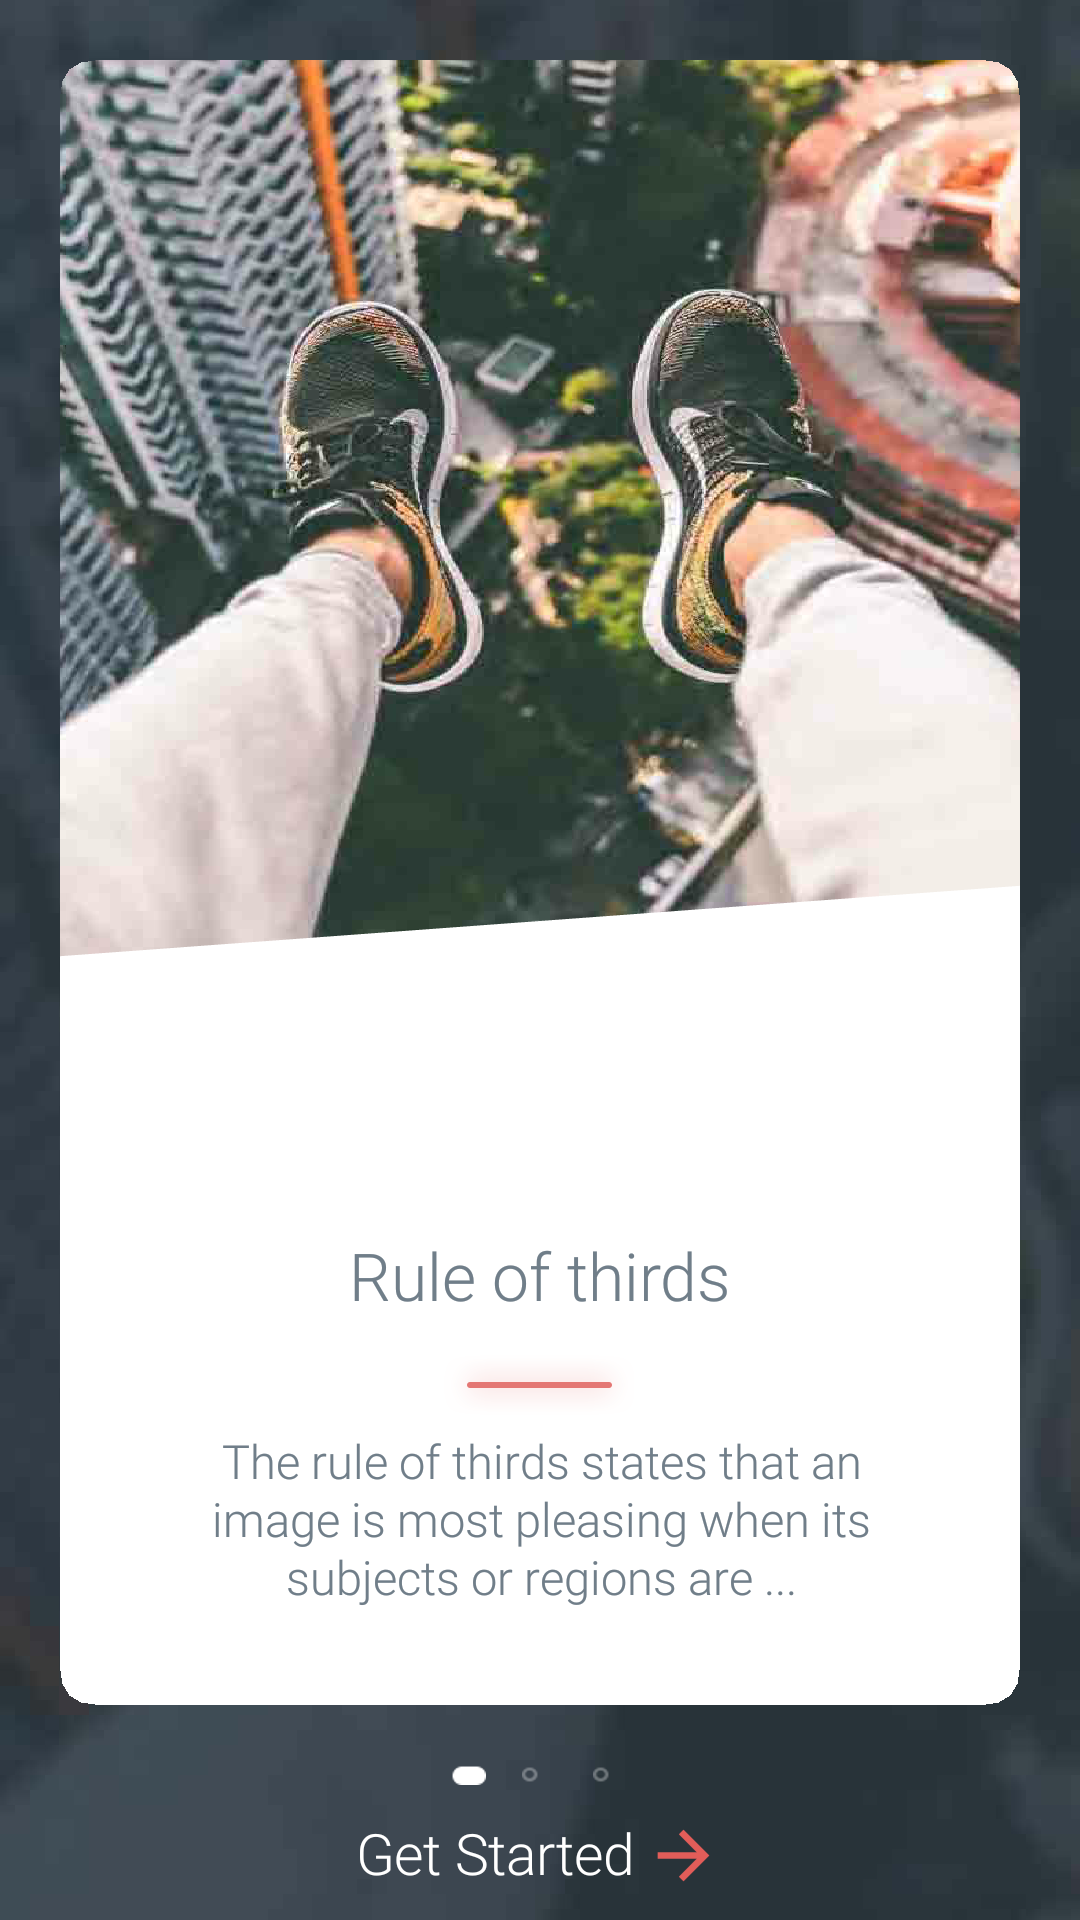
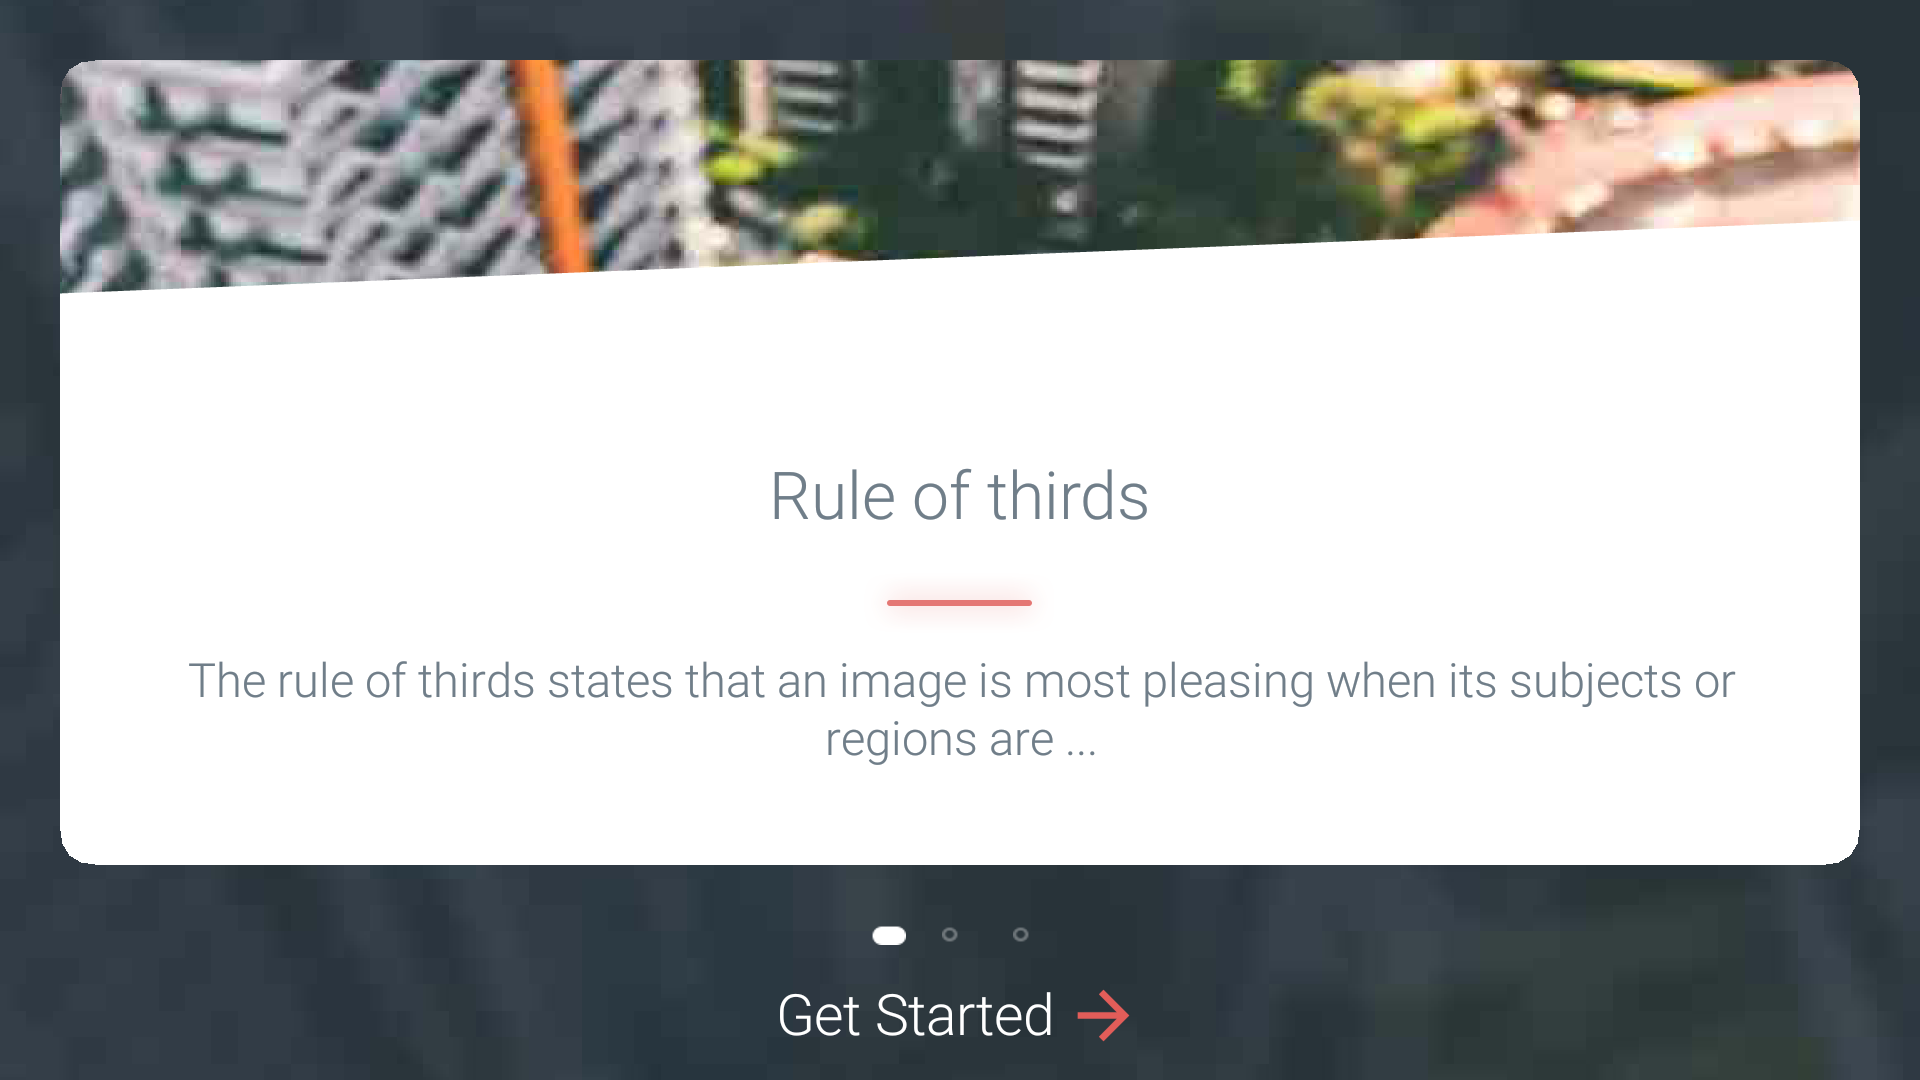
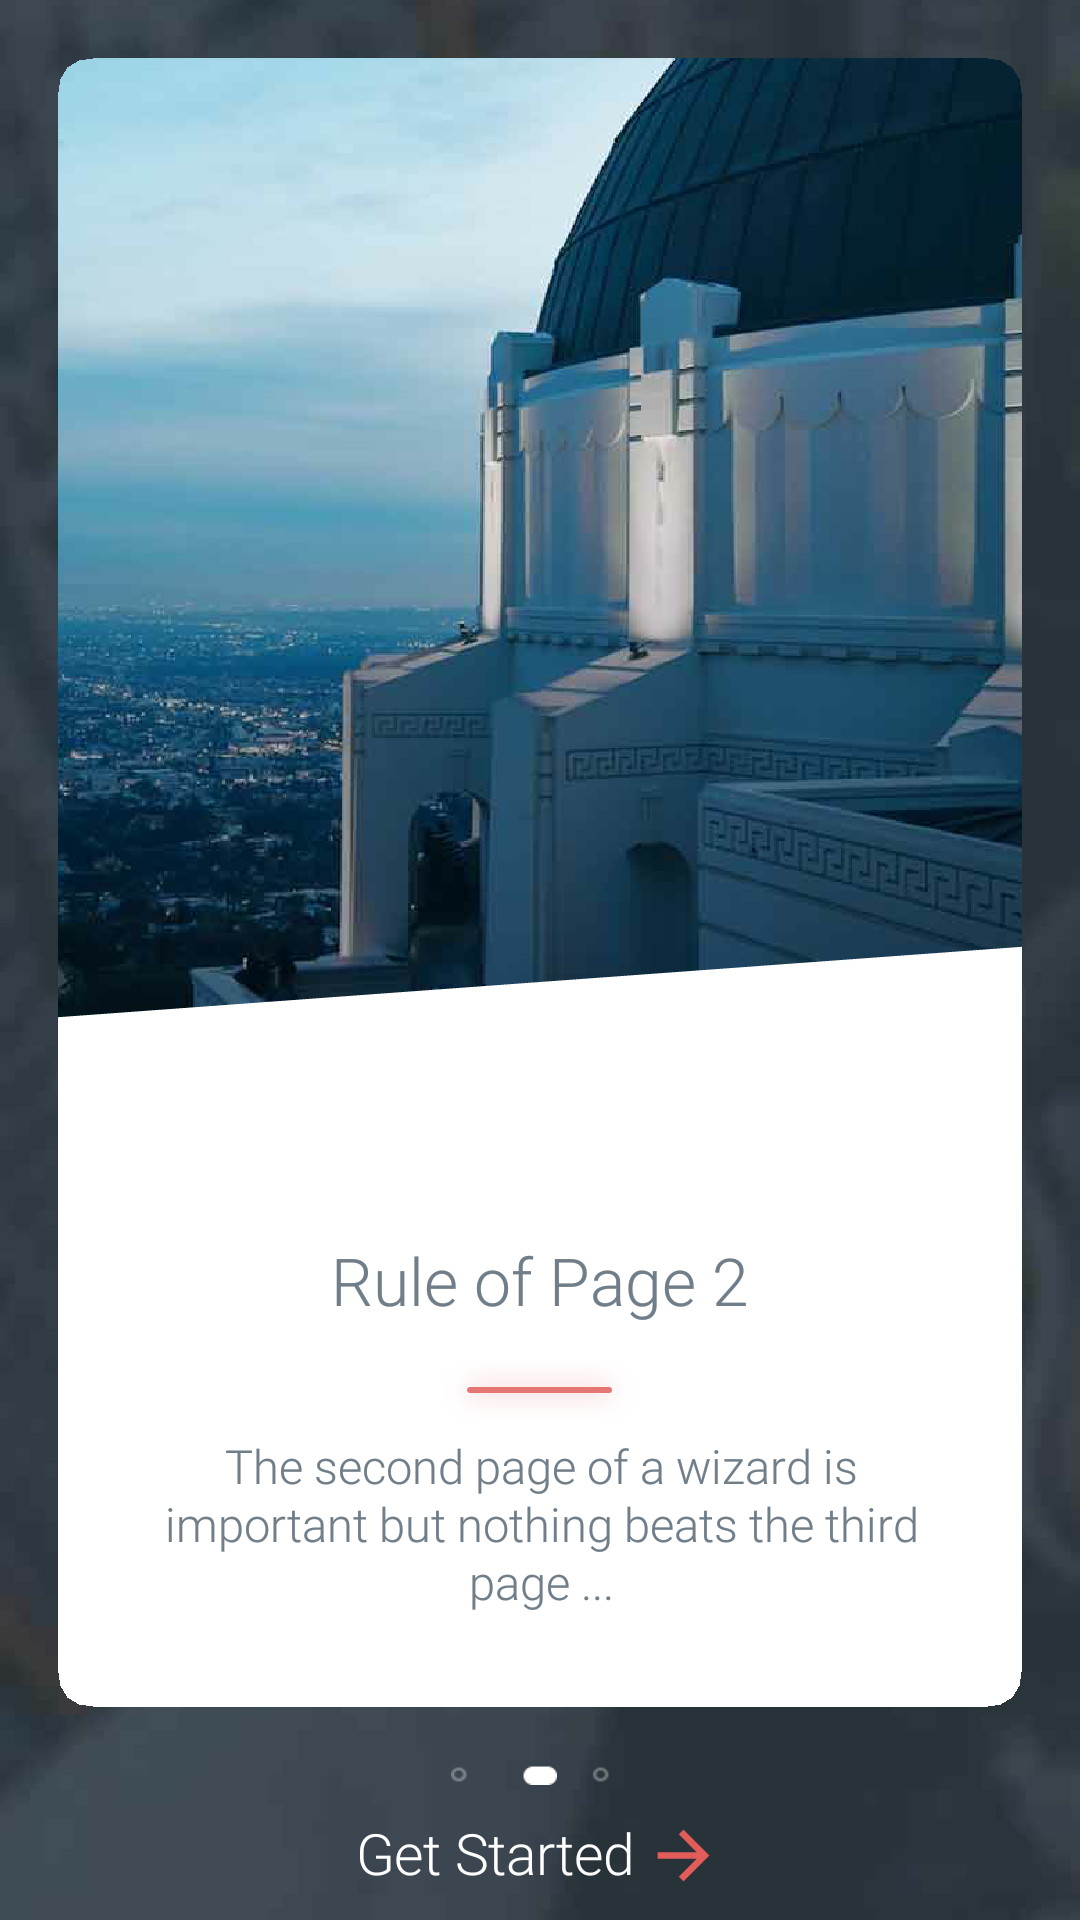
Rounded Walkthru Section
This was probably the most challenging part of the demo, at first glance the UI for the walkthru form doesn’t look
like it will be too challenging but this becomes a problem when we start looking at different DPI’s/orientations.
At first I tried solutions such as masking the image but this created some issues –
-
The first mask I tried included only the top diagonal line and the round border. But this kept misaligning with the
bottom text portion especially when running in problematic orientations/aspect ratios. -
I then tried creating a single image that would include the bottom and top part and draw the text above but this
created a situation where the text would grow too much.
The problem here is that the design image on the top might run out of space entirely, in fact one of the biggest
design changes we had to do was reduce whitespace so some UI’s would fit. Still in landscape on a low DPI phone
the top image won’t appear at all.
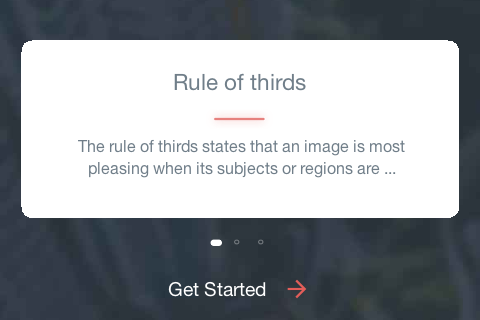
The solution I ended up using was a shape clipping for the round rectangle, this isn’t ideal and doesn’t work
in the JavaScript port but it works almost universally. We install this with a background painter on the style
again not ideal, but it shows just how powerful Codename One can be in such situations.
Once this was in place we can just fill up the space we need for the text with the white background.
If I had the time to work on this I might have enlarged the text to fit for some cases, but this would require more
device testing rinse/repeat and I spent way too much time on this form.
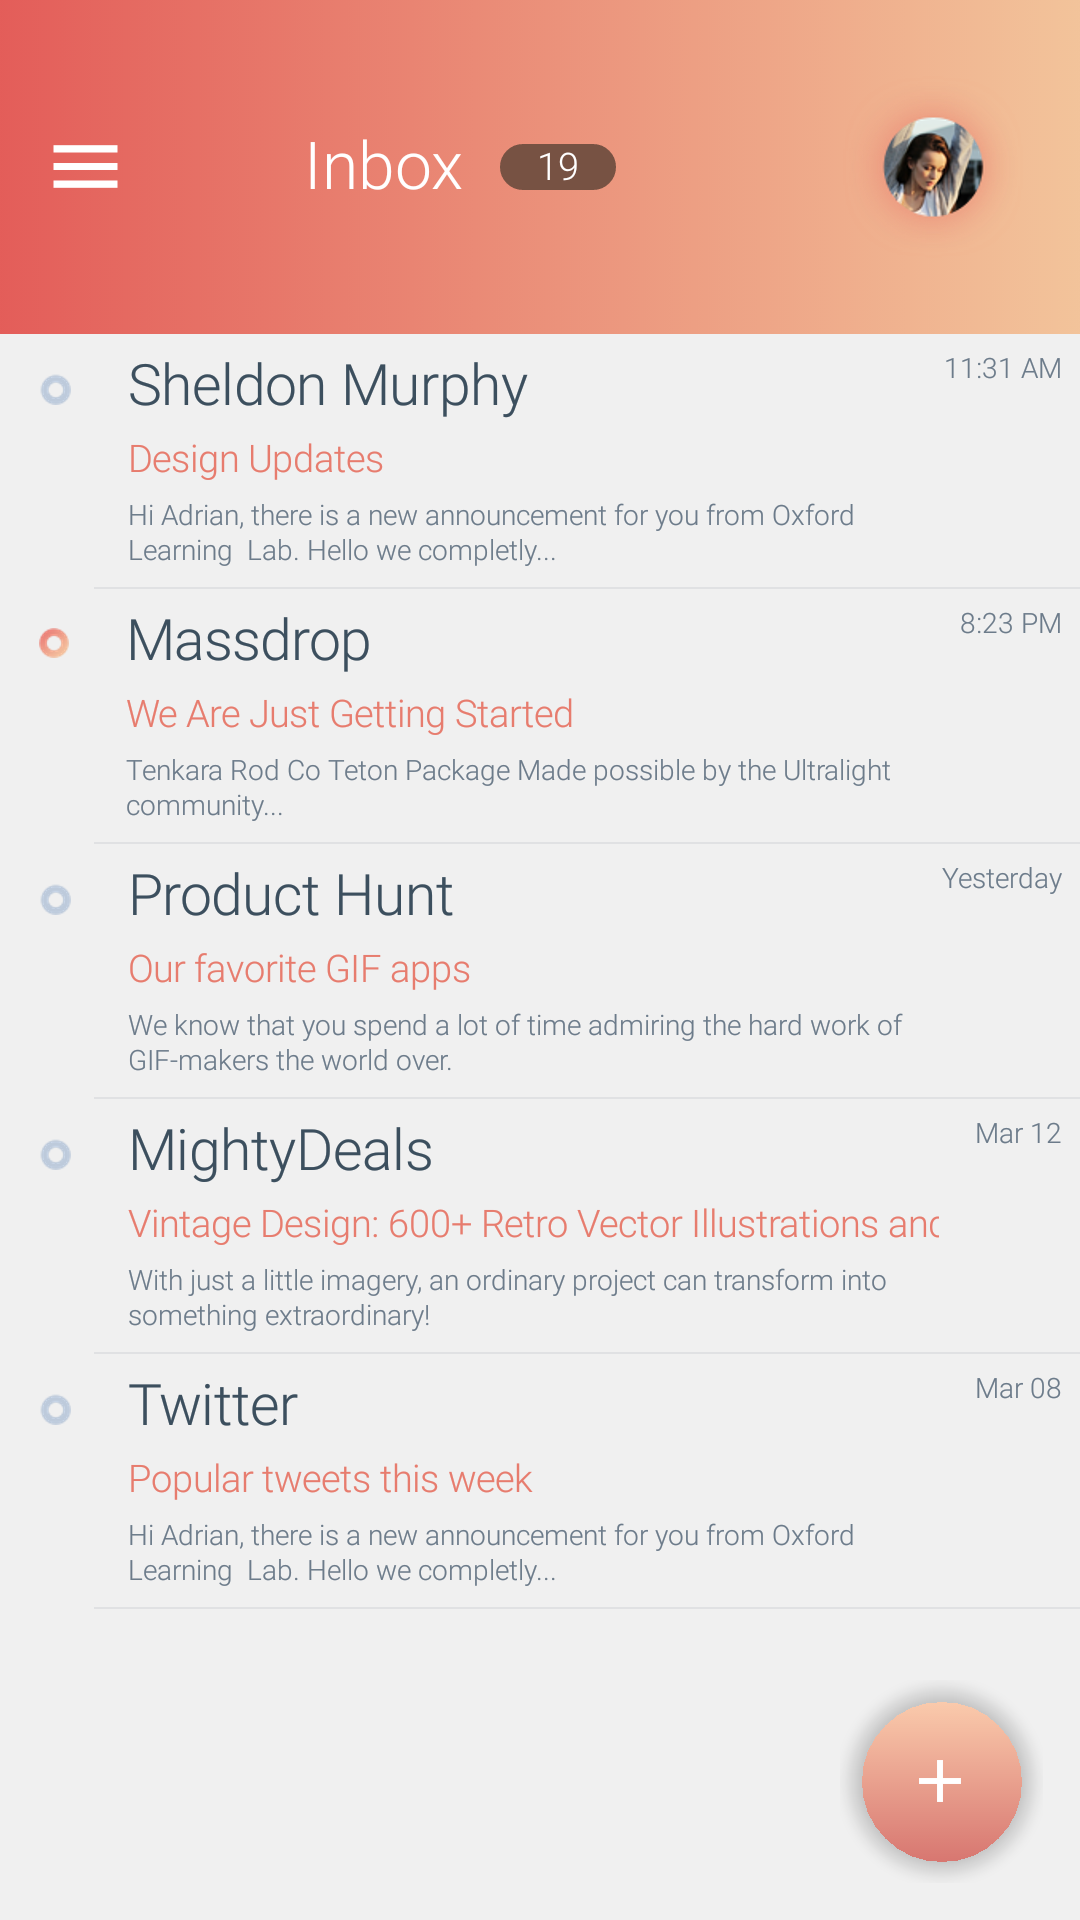
Floating Action Button
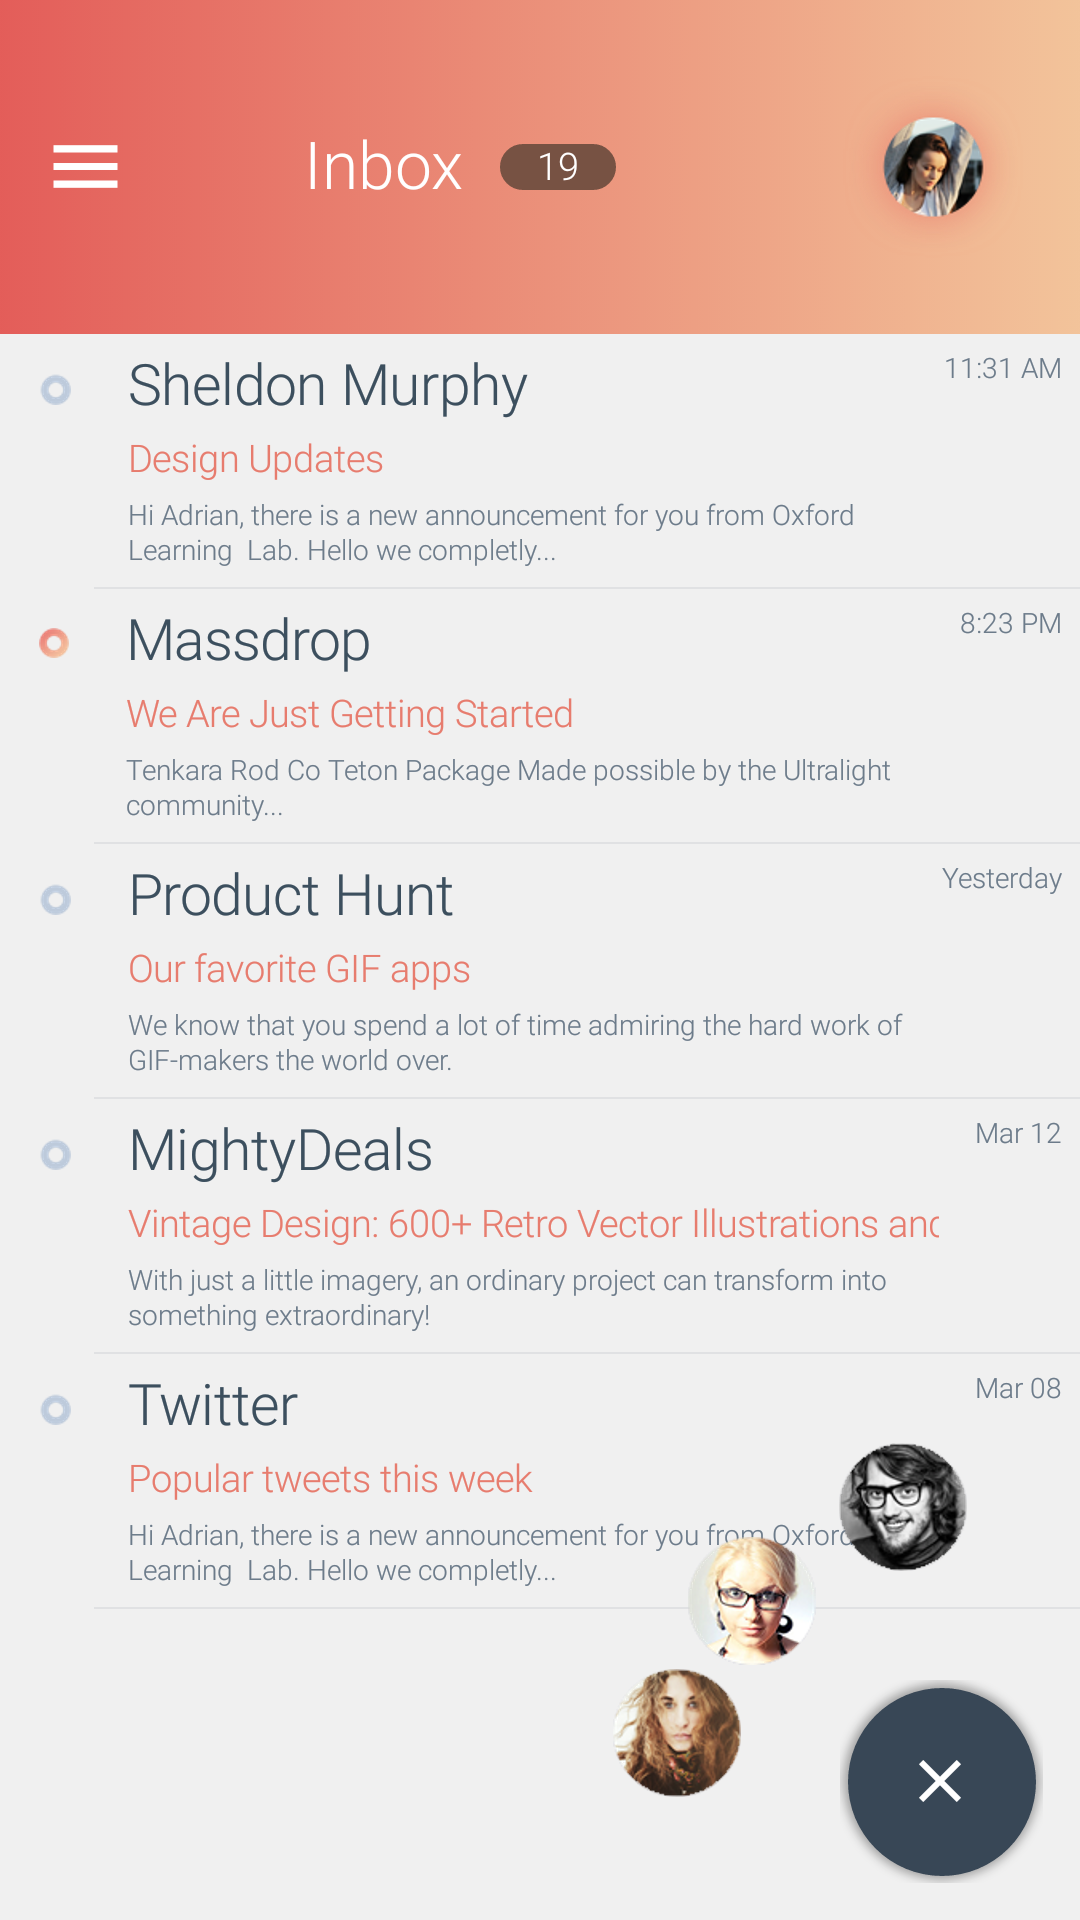
The inbox form has a unique floating action behavior that is inconsistent with the default Android behavior:
At first I thought about implementing it as a special layout but since this is a very special case I eventually decided
to use padding to position the components in the the various locations. Since the UI can’t contain more than 3 elements
this sort of hack is pretty easy.
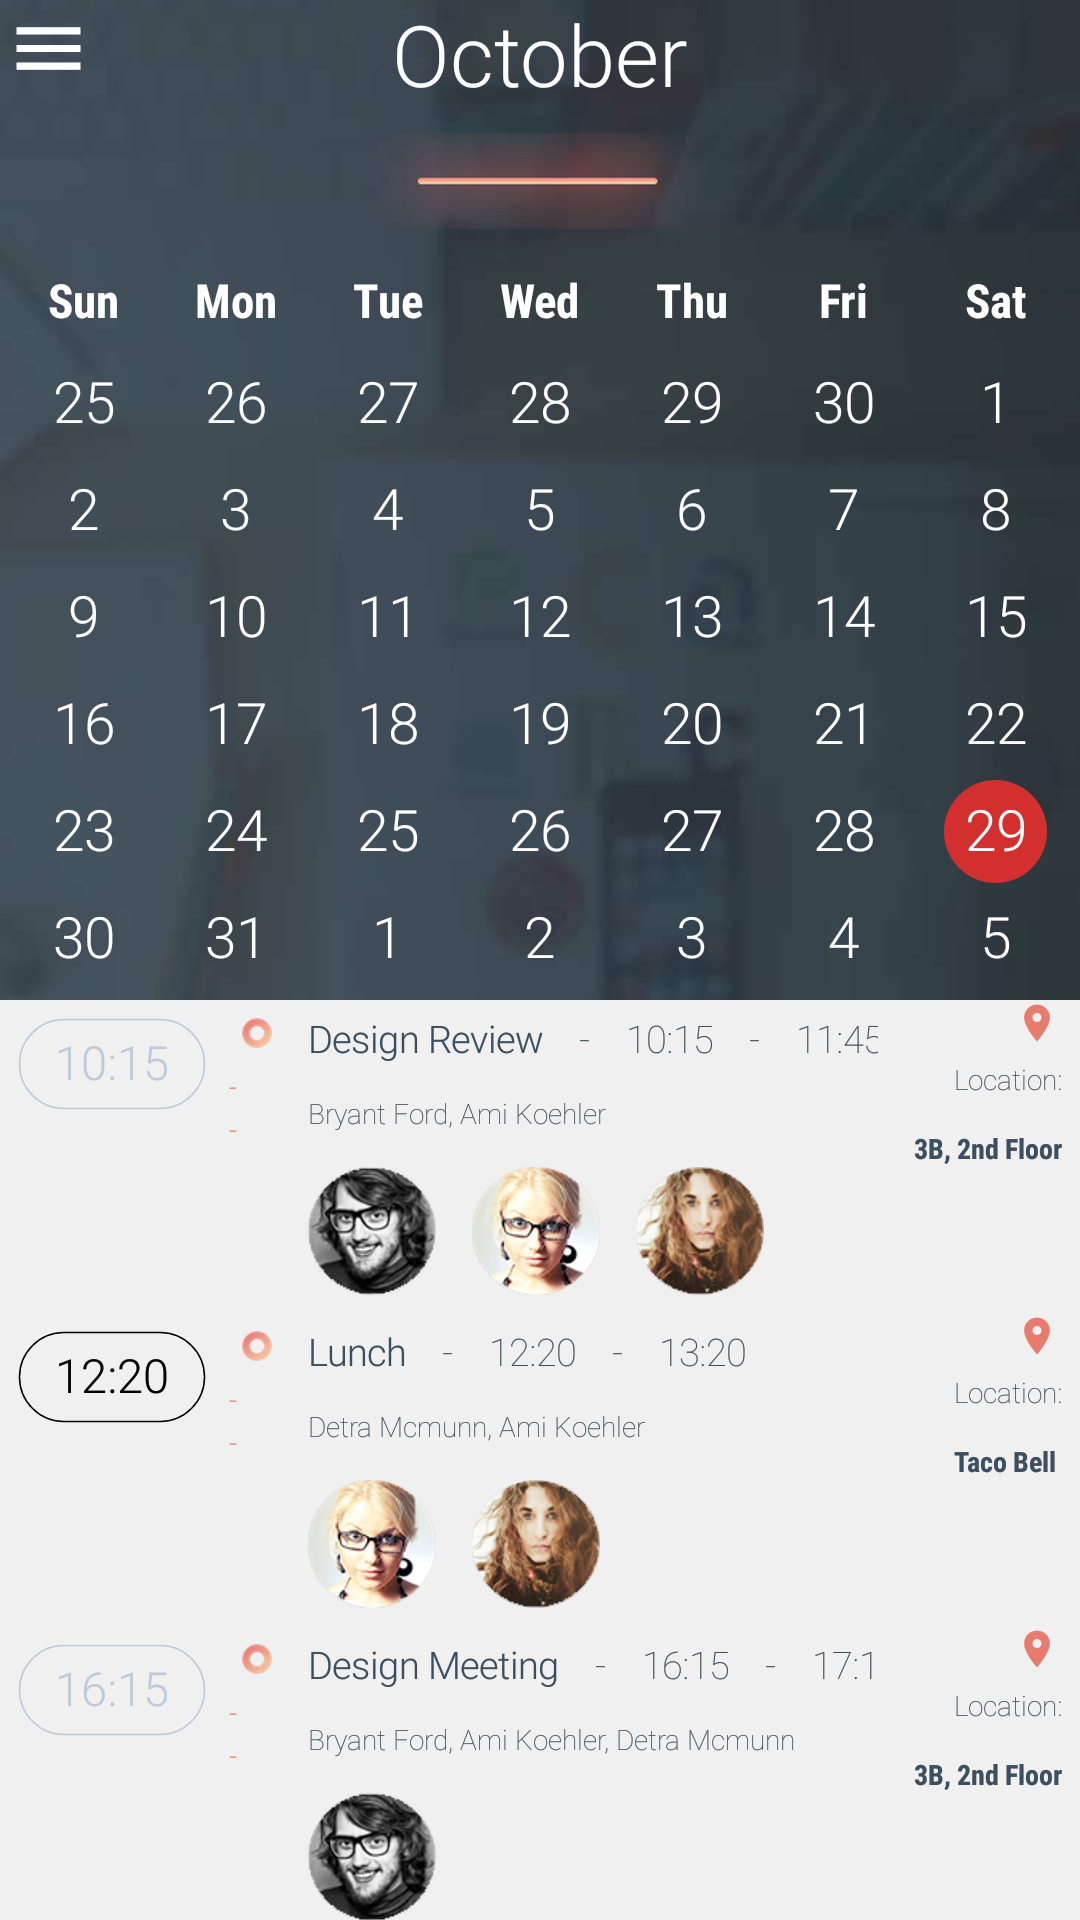
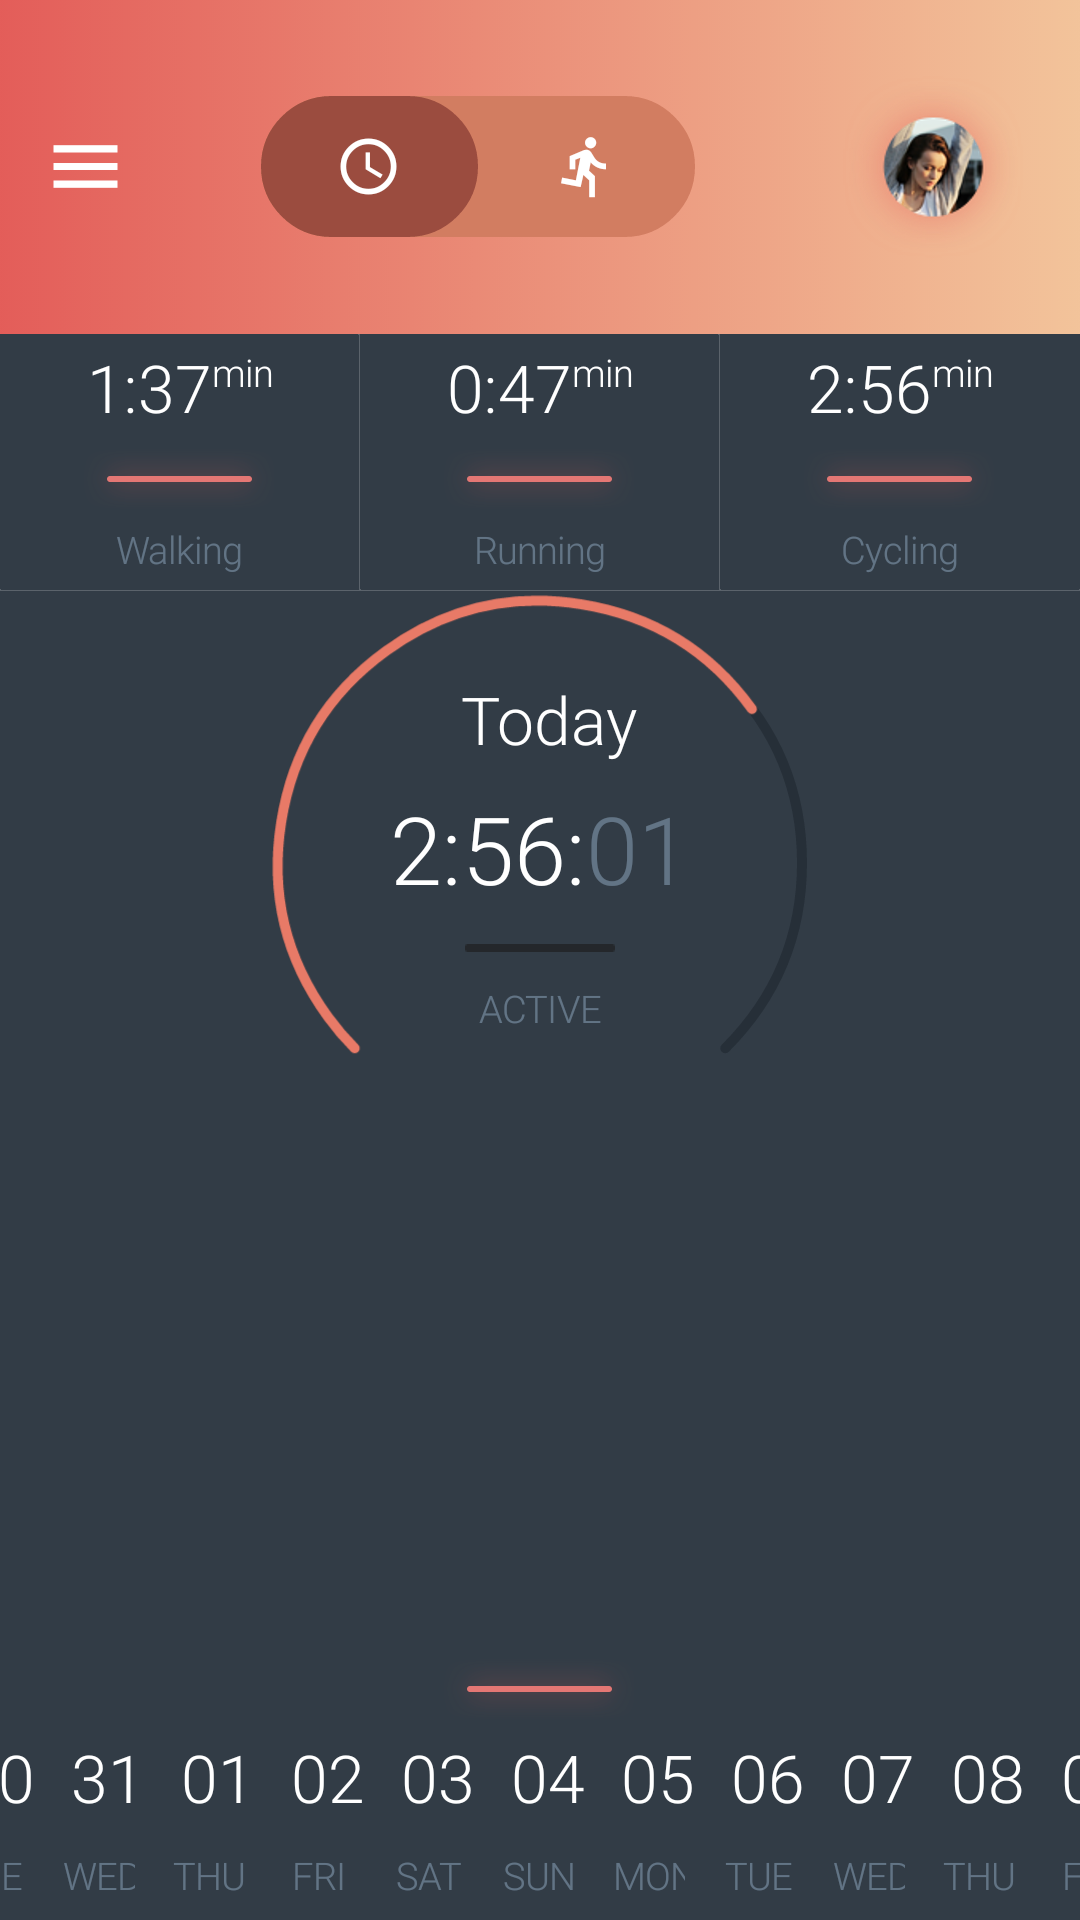
Status Form
One of the last forms I worked on was the status form with the round progress indication, I chose to use the
CN1CircleProgress cn1lib since it was there already and
included the main UI element features.
I thought about doing this manually and using the gradient design but after seeing the UI without the gradient
I decided this wasn’t essential.
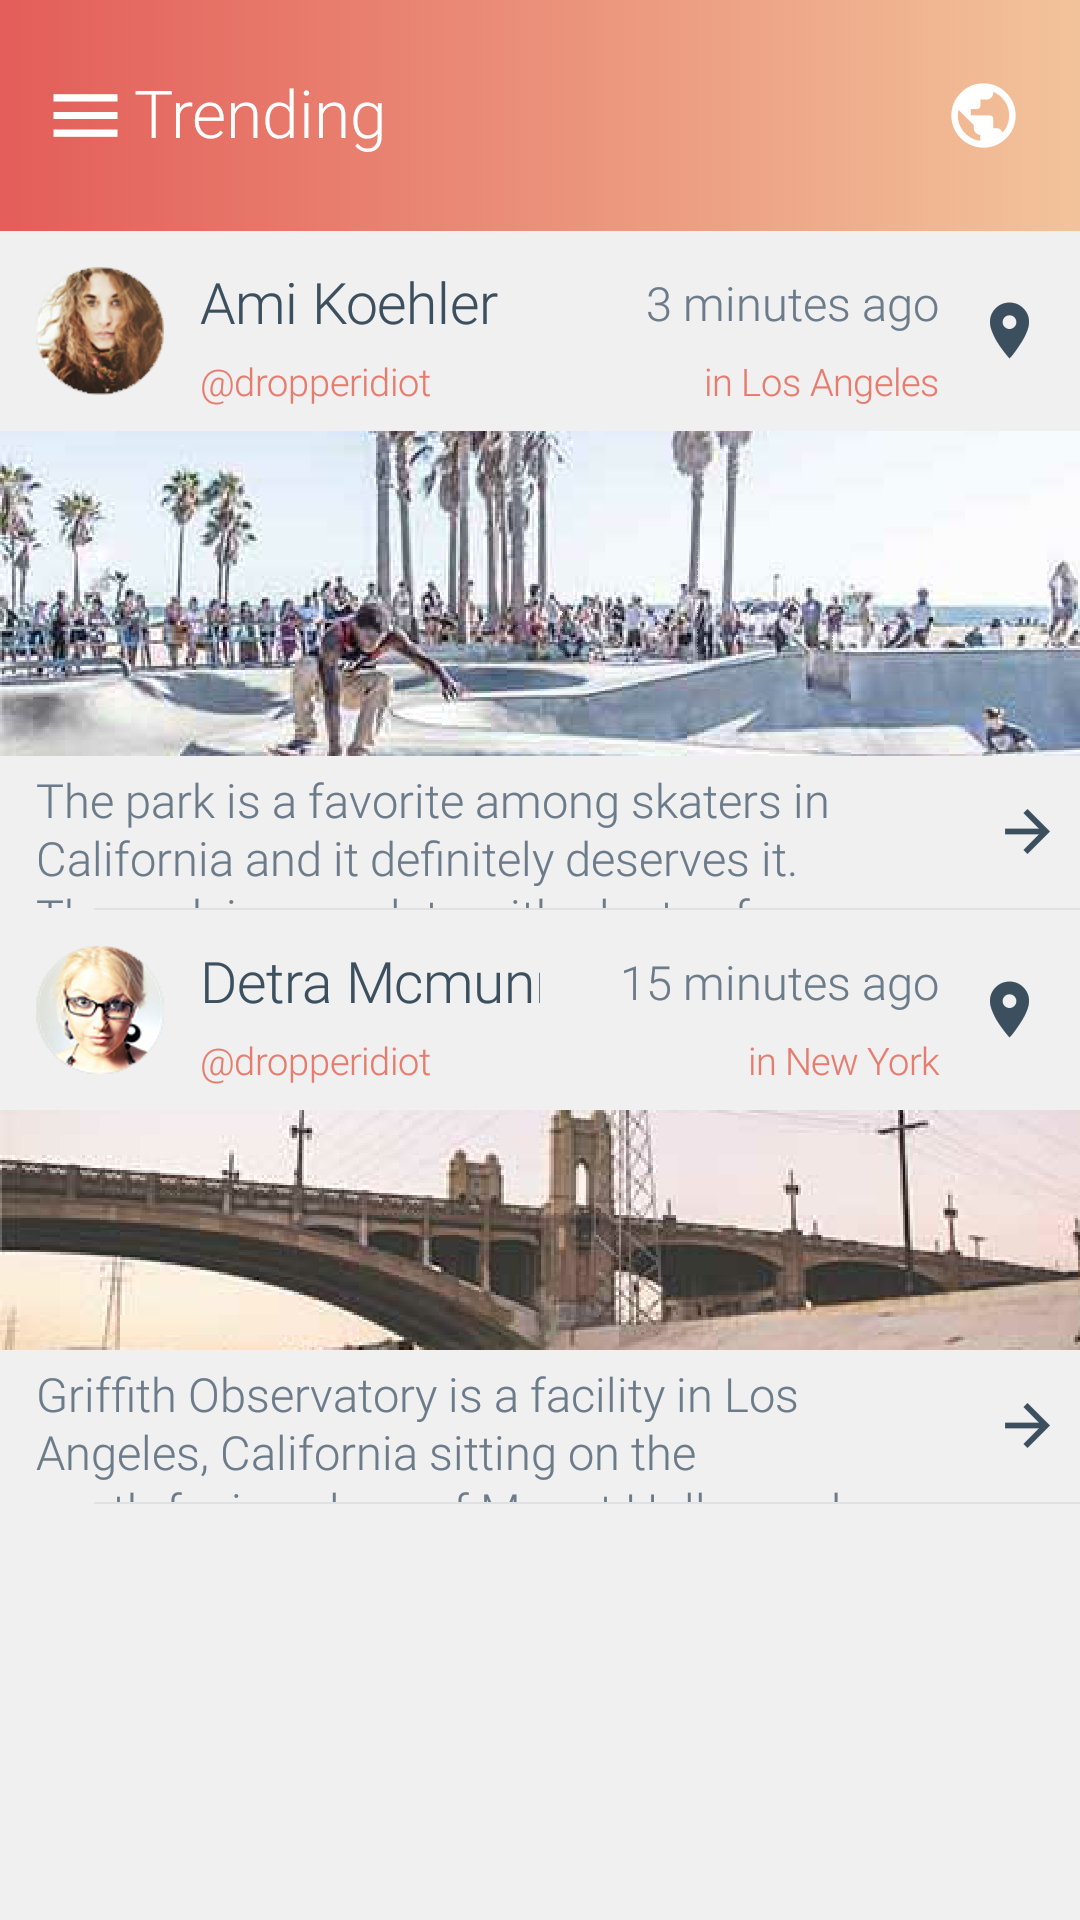
The bottom bar is a horizontal List that allows you to scroll thru the elements.
I didn’t add some of the other elements of the design as similar elements already appear on the trending form
and this seemed redundant.
End Result
Below are screenshots from my One Plus One Android device:
Final Word
There were a few pages and features I skipped due to lack of time and the approach to the 1mb limit in the jar
size. I was still able to stay below that despite the fact that this theme required quite a few images… We ended up with a
706kb jar which is pretty small .
Most of the stuff I skipped was more of the same, I also skipped the Map UI which is a subject for a post all
by itself.
I hope you find these posts useful and instructive specifically about the types of designs that can be achieved
with Codename One. As usual, if you have a specific question about a UI element or anything related to the design
please don’t hesitate to ask in the comments!

15 Comments
That all looks good, but a more fundamental question is why do people want to use a PSD file ? I Googled using a PSD in a native Android app, and it’s not all that simple either.
PSD is the output of Photoshop and other design tools that followed. It is a design format and as a result really bad for engineering tools that have very different concepts.
In 90% of the cases when you employ a designer you will get a PSD as a result. As you can see from the results this is very effective in improving the final look of the app…
PSD is hard to adapt to any platform just like it’s hard to take any design and make it into a real product.
this looks great, codenameone should also use modern looking templates like this in sample projects for eclipse, intelliJ idea… My first contact with codenameone was actually through those samples in intelliJ (for some reason as an engineer, I wanted to see the code samples first). When I saw that funny looking samples, I just left, didn’t wanted to look into this any more. The stuff I’m seeing here makes me want to look at it again…
Thanks.
I agree we need to add these to the plugins, it’s always a pain to package demos into the plugins but it’s worth it. The nice thing is that this entire demo fits in under 1mb so it won’t significantly impact the plugin size.
This looks awesome! Is the code available anywhere?
The link is in the demo page.
It’s also in the latest plugin version under the demos section for NetBeans/IDEA.
Dear Shai,
Allow me to say that I really dont understand what GUI builder you have used to build the forms.
The generated code seems a bit strange. It looks like it was built using the new GUI builder.
I can not even edit any of the forms using the new GUI builder .
For example, the repaint method used within the splash form looks extremely complicated.
I am not sure if we have to do the same thing just to show the infinite progress of the splash screen.
There is a lot of generated code that I would like to know how it was achieved.
Thanks in advance for any help.
Hi,
most of the forms are GUI builder forms and should work “as is” however I needed to do quite a bit of handcoding on top of that to allow some of the more unique features. Everything that’s outside of the GUI builder code block was handwritten.
The GUI builder can do a lot but it can’t do everything on any platform/OS combination.
Dear Shai,
Thanks for your helpful answer. One question remains though, do you mean you have used the new gui builder cuz I can not see any of the gui elements included in the theme.
And if you have used the new gui builder, how can we edit the forms? When I try to edit them using the context menu and clicking on gui builder it says “Gui builder only works with GUI builder files created using the wizard”
Thanks again.
Hi,
the new GUI builder doesn’t use the theme for UI elements see:
[https://www.codenameone.com…](https://www.codenameone.com/blog/using-the-new-gui-builder.html)
You need to select a form java source file and then selecting the GUI builder.
Dear Shai,
That’s what I did with this application after downloading it from github into my netbeans IDE.
I right click on any of the java file form files and chose gui builder but then I get a pop up with the following error message:
“Gui builder only works with GUI builder files created using the wizard”
Hi,
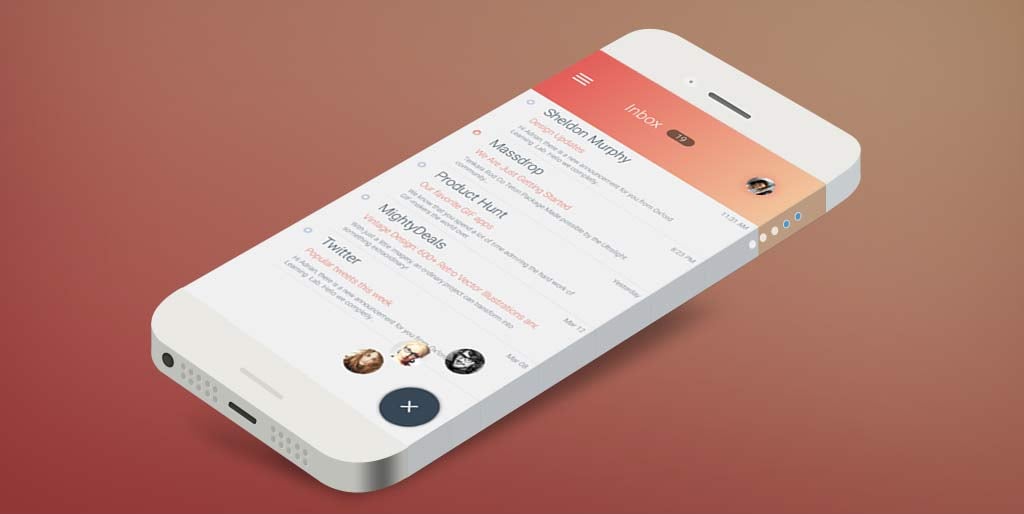
I just tried this with a new project from the wizard and it worked with forms such as the inbox form.
The error message you are getting means that this is not a GUI builder form or that the .gui file matching this form is missing from the res directory.
Hi,
What’s the exception stack and what’s in the loop? Which line in your code does the stack point to?
i tried to work with this project but thers no main classes found ..can anyone help me :/
This is a Codename One project not a standard command line Java project. As such the main class includes the start(), stop() etc. methods.
You need to run it within an IDE with the Codename One plugin installed e.g. NetBeans where pressing play/debug “just works” and invokes init(Object), start() on launch.