Jump To Topic
Tip
This post is targeted at experienced Codename One users. If you haven’t built an app with Codename One before, I recommend you start with this Getting Started tutorial (for Java) or this tutorial (for Kotlin).
One of the benefits of moving to Maven is improved project hygiene. It is now trivial to build Codename One from source.
In this video, I show you how to build Codename One from source and use this “local” version in your Codename One projects.
TLDW (Too Long Didn’t Watch)
Here’s the gist of what happens in the video.
					git clone https://github.com/codenameone/CodenameOne
cd CodenameOne/maven
mvn install
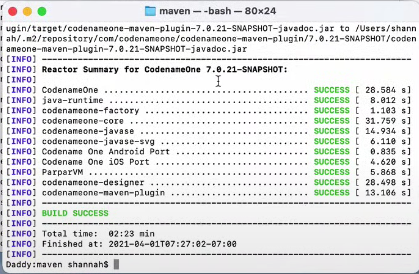
This will take a few minutes, but at the end of the tunnel you should see “SUCCESS” as shown below:

					git clone https://github.com/shannah/cn1-maven-archetypes
cd cn1-maven-archetypes
mvn install
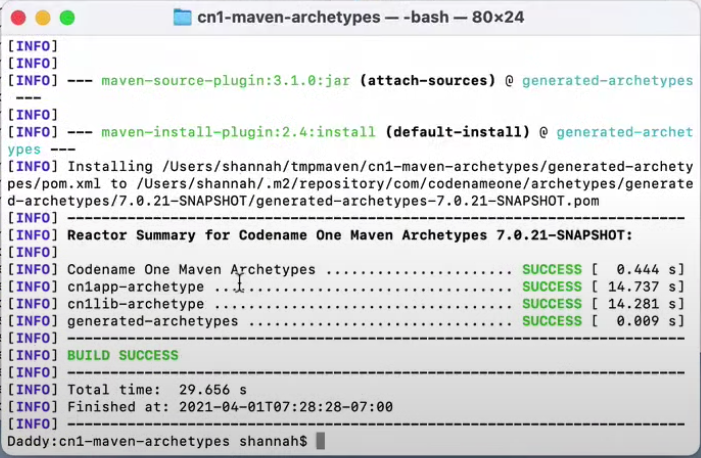
This will take another minute or so, but at the end of the tunnel you should see “SUCCESS”:

In the video, you can see that the version number is “7.0.21-SNAPSHOT”.
Using the Local Version in Your Application Project
Now that Codename One is installed in your local Maven repo, you can use that version in your application instead of the release version.
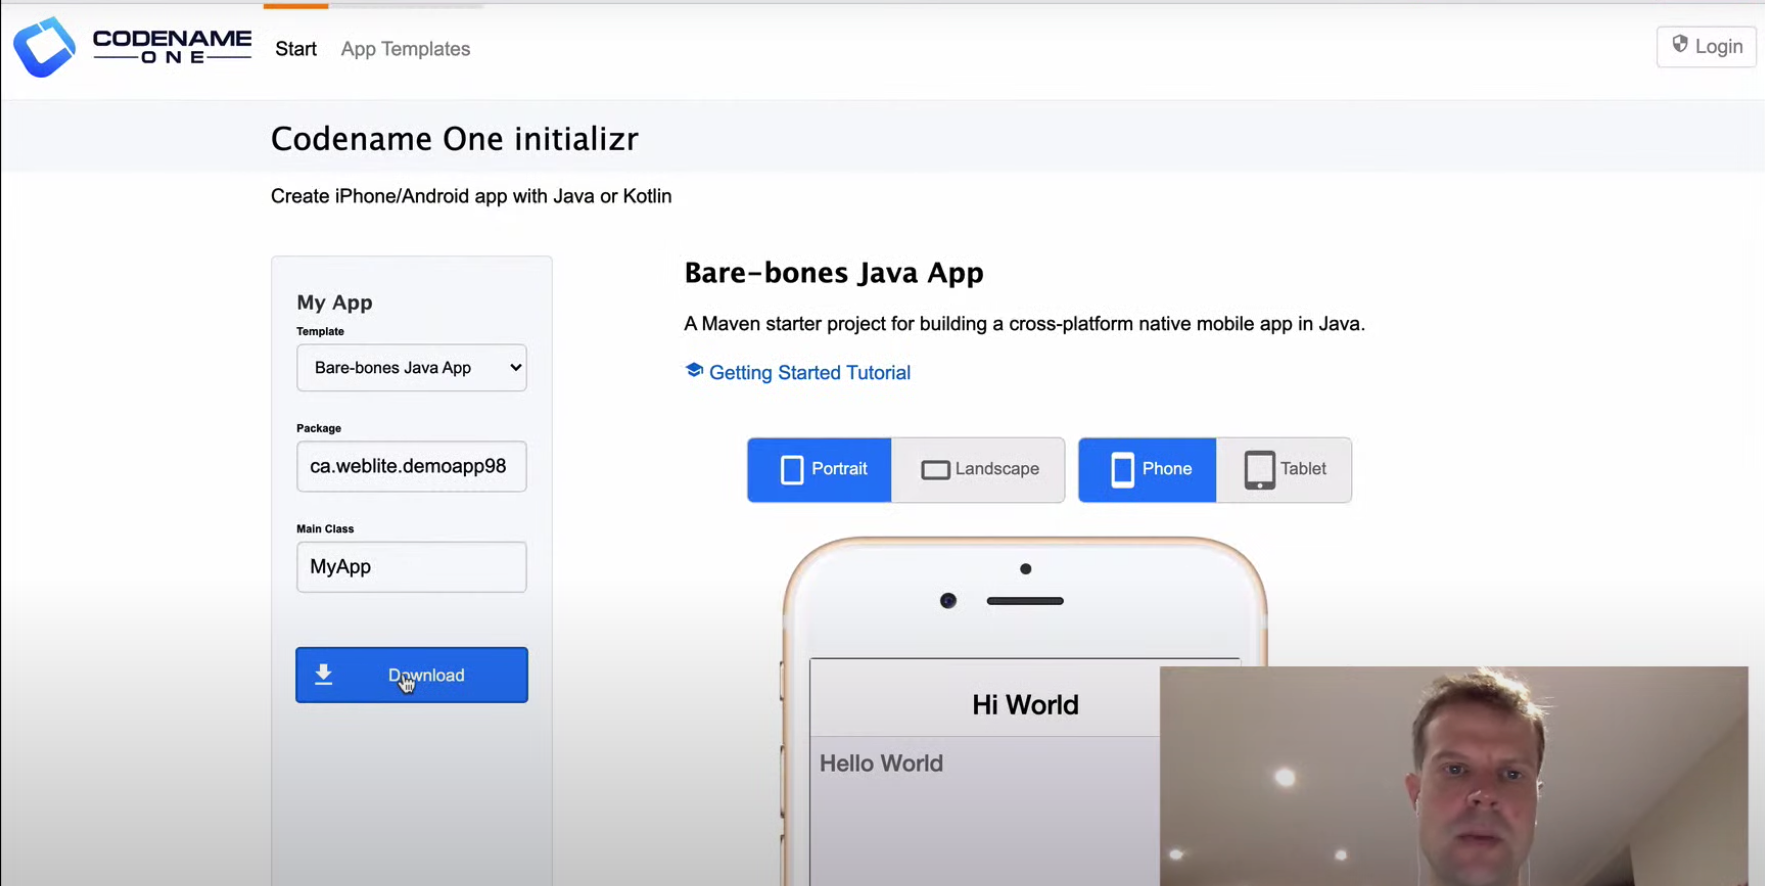
I demonstrate this in the video by creating a new project with the Codename One initializr.

Tip
Check out my Video tutorial on Codename One initializr if you haven’t seen it yet.

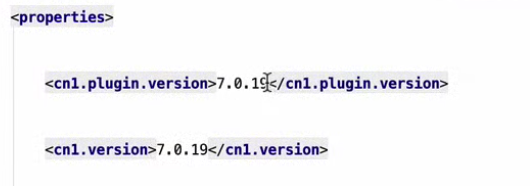
I then change these to point to the version that I installed into my local maven repository: 7.0.21-SNAPSHOT.

Why Build From Source?
Because you can, and because it is the first step toward taking control of your own destiny. It gives you early access to features that may not be available on Maven Central, and it also enables you to make your own changes, and potentially contribute them to the Codename One core.
Getting Started
If you haven’t built an app yet, it’s easy to get started. Just go to Codename One initializr and press “Download”. You could be up and running in only a few minutes.
If you want to dig deeper into Codename One’s Maven support, check out the Codename One Maven Developers Guide.


2 Comments
something is out of date. in codenameone\maven, mvn install
[ERROR] Failed to execute goal org.apache.maven.plugins:maven-compiler-plugin:3.8.0:compile (default-compile) on project
java-runtime: Compilation failure: Compilation failure:
[ERROR] Source option 5 is no longer supported. Use 7 or later.
[ERROR] Target option 5 is no longer supported. Use 7 or later.
This is somehow related to the java version in use. I fixed this by
downgrading my default java from java-16 to and older jdk, jdk-1.8